How to customize Webflow's code block
Webflow’s Code Block
Webflow recently rolled out a new native element called the “Code Block”. It is an element that can display code snippets with syntax highlighting that matches the language of the code. It’s powered by react-syntax-highlighter, and there is a huge list of supported languages.
The Problem
I was really excited when I saw this new element. Especially since I create content that involves a lot of code snippets. However, I was a little disappointed after testing it for a bit. There were two main issues that I had with it:
- Limited Customization: The code block element is not very customizable. You can’t change the display, padding, font, font color, or background color. Custom properties won’t override them either. You also can’t change the color of the code text other than changing the language.
Customization
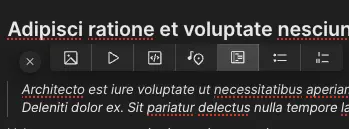
Alright, a no-code solution is has limited customization. No surprise here. As usual, I started looking for a way to hack it. Let’s start with the first issue: limited customization.
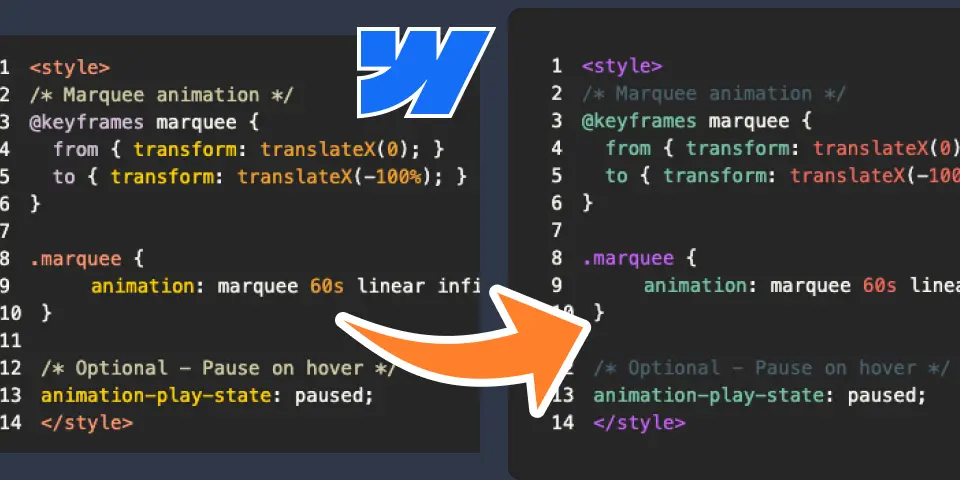
This is the code that I want to show:
<style> /* Marquee animation */ @keyframes marquee { from { transform: translateX(0); } to { transform: translateX(-100%); } }
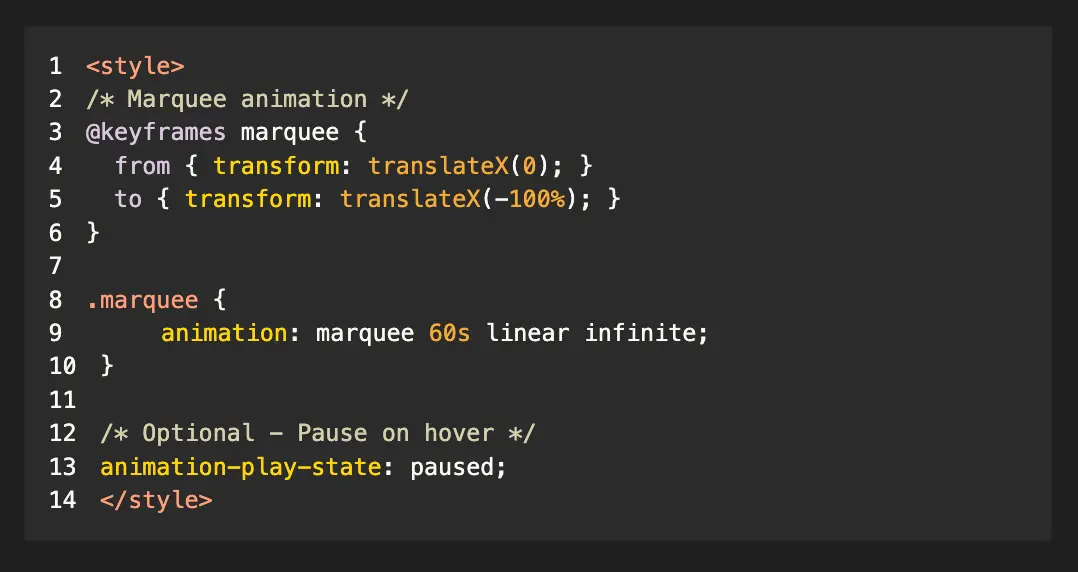
.marquee { animation: marquee 60s linear infinite; }</style>and currently it looks like this:
Customization: Part 1
The first thing I did was inspect its code. We are looking for classes, attributes, or anything that we can target with custom CSS. This is what I found:
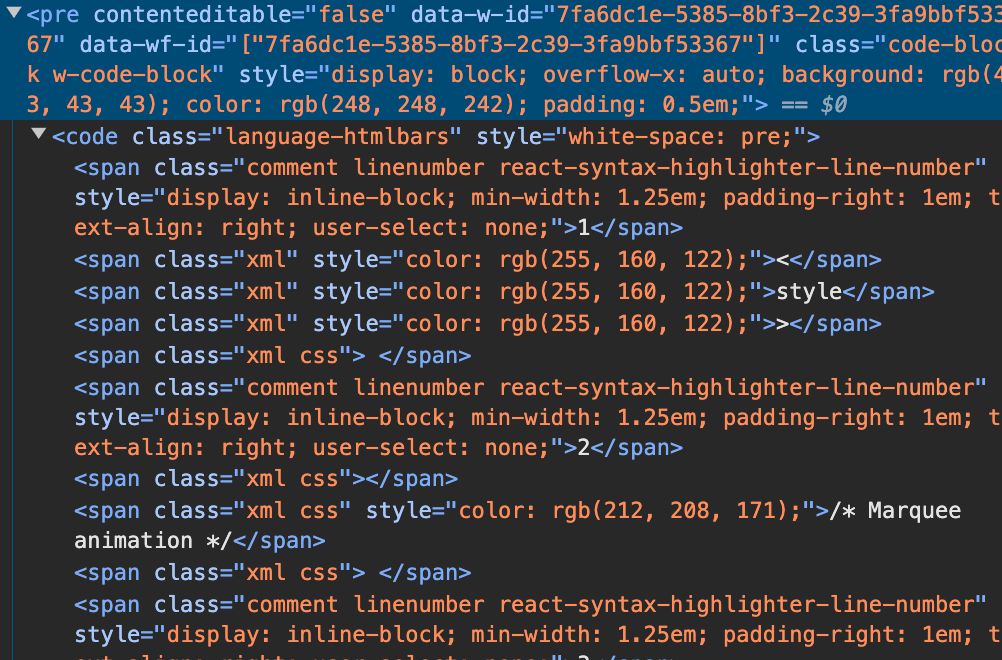
We can see in the screenshot that each highlighted word has an inline style attribute. This is great because we can target this attribute and style the highlighted words. Here’s an example: Yes, it’s a bit weird - we are targeting by inline styles to apply other styles, but it works.
So let’s take style="color: rgb(255, 160, 122);" as an example. This is originally an orange color, used for the style tags and the class names. Let’s change that to purple.
[style='color: rgb(255, 160, 122);'] { color: #d06dff; /* purple */}I added that to a code embed so that we can see it live in the designer, without having to publish the site.
Unfortunately, that didn’t work. Inline styles have priority over CSS. So we need to use !important to override it.
[style='color: rgb(255, 160, 122);'] { color: #d06dff !important; /* purple */}Boom! It worked. Now we can repeat the process for the other colors. The only issue is that we are limited to the colors that are already there. We can’t add new colors.
Here’s what I ended up with:
<style>  [style='color: rgb(245, 171, 53);'] {    color: #f77669 !important; /* red */  }
  [style='color: rgb(255, 215, 0);'],  [style='color: rgb(220, 198, 224);'] {    color: #80cbae !important; /* green */  }
  [style='color: rgb(212, 208, 171);'] {    color: #546e7a !important; /* comments - gray */  }
  [style='color: rgb(255, 160, 122);'] {    color: #d06dff !important; /* purple */  }
  .w-code-block {    padding: 1rem !important;  }</style>
And it looks like this:
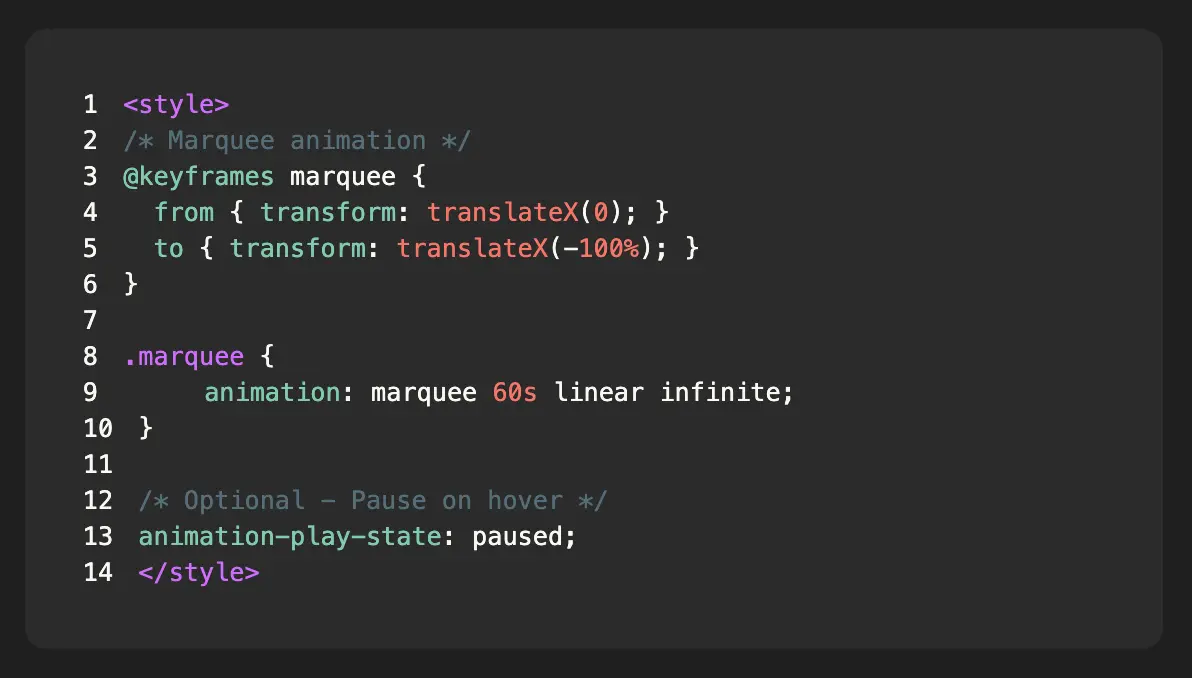
Much nicer, right? You’ll notice I also added some padding to the code block. This is something that you can’t do natively. But by giving the code block a class, we can target it with custom CSS!
Customization: Part 2
I published, feeling good how quickly I was able to customize the code block. I go to the staging site and… the colors are all wrong. They are not the same as in the designer. I inspect the code and see that the colors are now in hex format.
So now we need to adjust our CSS to target the hex colors as well as the rgb colors. We need to target them both, because we want our styles to work in the designer as well as in the published site. Our final CSS looks like this:
<style>  [style='color: rgb(245, 171, 53);'],  [style='color:#f5ab35'] {    color: #f77669 !important; /* red */  }
  [style='color: rgb(255, 215, 0);'],  [style='color:#dcc6e0'],  [style='color: rgb(220, 198, 224);'],  [style='color:#ffd700'] {    color: #80cbae !important; /* green */  }
  [style='color: rgb(212, 208, 171);'],  [style='color:#d4d0ab'] {    color: #546e7a !important; /* comments - gray */  }
  [style='color: rgb(255, 160, 122);'],  [style='color:#ffa07a'] {    color: #d06dff !important; /* purple */  }
  .w-code-block {    padding: 1rem !important;  }</style>
and our code block now looks just like in the Designer:
Code Block in CMS
Although initially the Code Block option didn’t appear in the CMS Rich text editor, it has been added now. You can follow the same steps to customize it as well. You can add it by clicking on the ”+” icon and selecting “Code Block”.
One limitation is that you can’t add styles to the code block when it’s in a specific rich text class like you do with the other Rich Text elements. You can only adjust the styles using custom CSS.
Closing up
Webflow’s new Code Block element is a great addition, but it’s not very customizable. However, with a little bit of CSS magic, you can make it look exactly how you want. I hope this guide helps you customize your code blocks in Webflow!
If you want to have a look at the final result, you can check out the links:
Webflow Cloneable
Published Site